

Key Takeaways:
- Start planning your invitations 4-5 months before your wedding to allow time for design, ordering, shipping, and assembly.
- Mail invitations 6-8 weeks before your wedding (12 weeks for destination weddings or if you skipped save-the-dates).
- Weigh assembled invitations at the post office before buying stamps to avoid insufficient postage and returned mail.
Sending wedding invitations might feel overwhelming with all the details involved, but it doesn't have to be. With the right timeline and a little planning, this process becomes one of the more exciting parts of wedding preparation. Your invitations set the tone for your celebration — make creating them just as memorable as the day they announce.
In this article, we'll walk you through exactly when to send your invitations and how to prepare them, covering everything you need to know before your big day.
When To Send Out Wedding Invitations
Most wedding planners advise that you mail out your invitations 6 to 8 weeks before your wedding date. This gives your guests plenty of time to receive them and send back their RSVPs.
That said, there are a few exceptions to this general rule.
Destination Weddings
Send your invitations about 12 weeks before your wedding date.
While your guests will likely know that they need to travel, thanks to your save the date, sending invitations early gives them time to finalize travel plans once they have details about hotel blocks and accommodations. If you haven’t planned on sending save the dates to your guests, here’s why we think it helps.
International Guests
Send your invitations 6 to 12 weeks before your wedding date.
For a handful of international guests, the standard 6 to 8 weeks works fine. Just communicate wedding details early with them so they can book travel. If many guests are traveling internationally, send invitations closer to 12 weeks out to account for longer delivery times.

Photo by Sierra Lorraine Photography
Skipped Save the Dates
Send your invitations 8 to 12 weeks before your wedding date.
Most couples send save the dates 6 to 9 months ahead of their wedding, but it is not a requirement. If you're skipping them or have a short engagement, send invitations earlier to give guests time to plan and get excited about your big day.
Prepping Your Wedding Invitations
Putting your wedding invitations in the mail is simply the end of the invitation process. Choosing your perfect invitation suite, gathering addresses, and assembling envelopes can take longer than you think, so it is best to begin the process of designing and ordering your invitations 4 to 5 months before your wedding.
1. Choose & Customize an Invitation Design
Take your time to browse invitation designs to get a sense for what you like. Our wedding stationery guide walks you through every piece you'll need—from save-the-dates to thank-you cards—making the selection process simple and enjoyable.
Once you’ve selected a few favorites, personalize them to see how your names or details will affect the overall design. You'll also want to craft your invitation wording as you customize your design.
Before finalizing, order a free sample kit to see paper types, printing methods, and invitation shapes in person (sample kits take 4-7 days to arrive)!
If you’re pressed for time, book a free consultation with one of Minted’s stationery experts, who will help you narrow down the designs you like and quickly customize them for you.
Bevel and Bevel by Megan Davis | Photo by REN Photography
2. Update Guest List & Addresses
As you’re picking out your perfect invitation suite, finalize your guest list and make sure you have everyone’s current addresses. If you’ve sent save the dates, you may have some “soft” RSVPs from guests who are unable to attend, opening up spots for other guests or additional plus ones.
Each Minted order comes with complimentary envelopes and free recipient address printing, so you have your guest list and addresses ready when you place your invitation order.
3. Create a Wedding Website
Your invitation will include instructions for accessing your wedding website, so you'll need the web address and password ready when you order invitations. Give yourself time to add all the details—hotel blocks, travel recommendations, and your registry. If you're collecting RSVPs online, upload your guest list to the website before sending invitations.
4. Choose Finishing Touches
Once you have your invitation design picked out, decide what finishing touches (if any!) you'd like to include. Consider wrapping multi-piece suites in vellum jackets, belly bands, or ribbons with wax seals. You can also make an impression with vintage stamps that tie into your wedding theme. Give yourself enough time to research and order these special details.
5. Order the Invitations
As soon as you've finalized your invitation design and budget for special touches, place your order. Minted's standard shipping takes 4-7 business days (3-day rush shipping is also available), while smaller vendors doing completely custom invitations may take up to 4 weeks to print and ship.
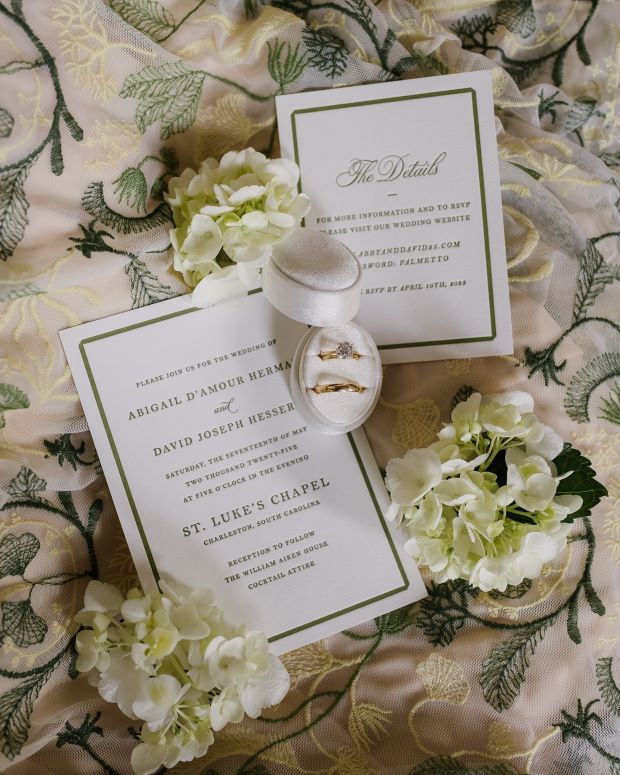
6. Assemble the Wedding Invitations
After your invitations arrive, you’ll need to block off at least an evening — and potentially a few evenings — to assemble them. This includes stuffing them into their corresponding envelopes, of course, but can also include tying suites together with luxe ribbons, sealing belly bands with custom stickers, and finishing off each with a custom wax seal.
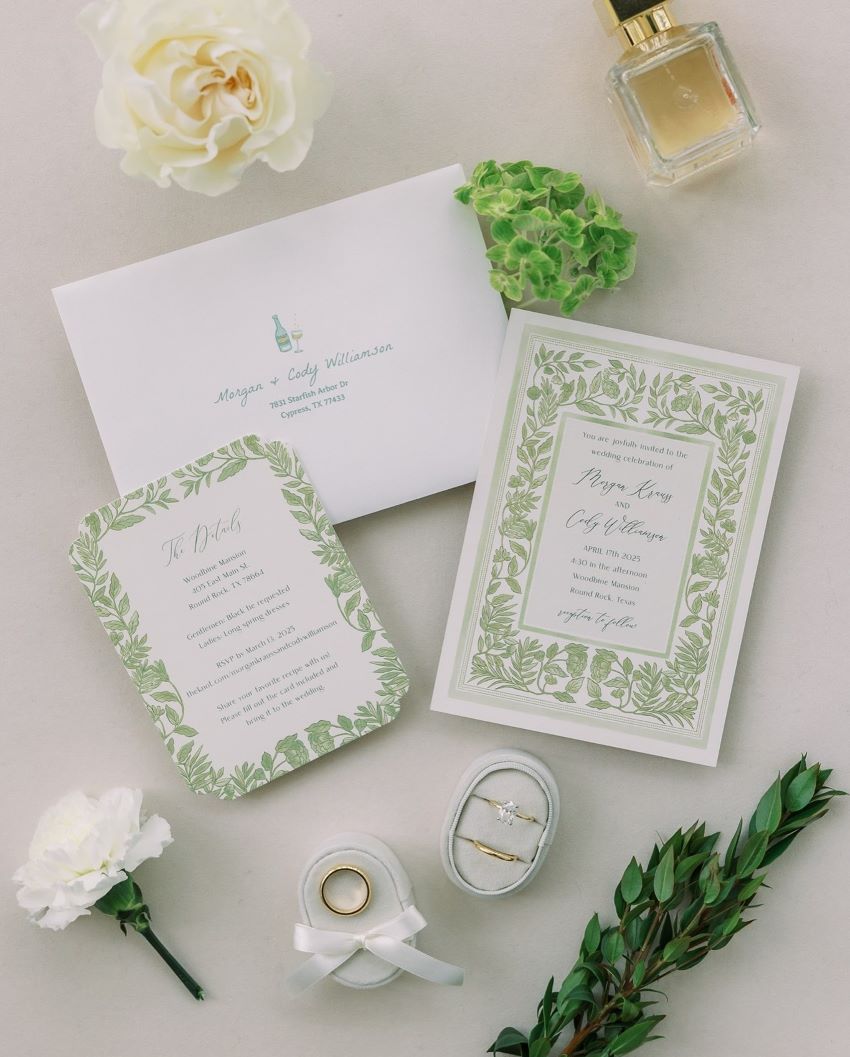
Porcelain Floral and Porcelain Floral by Elly | Photo by Woodbine Mansion
7. Weigh the Invitations and Buy the Right Amount of Postage
Your invitation suite is likely going to be heavier than the average letter, so once you have a few of your invitations assembled, take them to the post office and ask them to weigh them. This will ensure you know the exact amount of postage each invitation needs — which can save you serious time and money down the road (you don’t want to receive a box of returned invites because of insufficient postage).
8. Final Steps
After purchasing stamps, add the correct postage to each invitation and take them to the post office. If your invitations are bulky due to belly bands or wax seals, ask the postal worker to hand-cancel them to prevent damage from the canceling machine.
Like with all things wedding-related, how you approach your invitations can be as over-the-top or as simple as you’d like. Giving yourself plenty of time to get your invitations ordered and mailed is a great way to minimize wedding planning stress, so you can focus on what's really important — celebrating your big day!
Wedding Invitation Timeline: Your Month-by-Month Guide
Keep this handy timeline nearby as you plan your invitations — we've broken down exactly what to do and when to do it.
| Timeline | Milestone |
|---|---|
| 6-8 Months Before Wedding | Browse invitation designs and request samples to explore paper types and printing styles |
| 4-5 Months Before Wedding | Finalize your design and place your invitation suite order, including any special elements |
| 2-3 Months Before Wedding | Receive and begin assembling your invitations, then get them weighed for the correct postage |
| 6-8 Weeks Before Wedding | Mail invitations (12 weeks for destination weddings or international guests) |
| 2-3 Weeks After Sending | Begin tracking RSVPs and following up with guests who haven't responded |
| 2-3 Weeks Before Wedding | Finalize guest count and order any remaining day-of stationery items |
Common Mistakes to Avoid
Before those invitations hit the mailbox, let's talk about the not-so-obvious pitfalls that even the most organized couples might encounter. Avoid these common mistakes to make the process smoother and stress-free.
- Not ordering extra invitations: It’s easy to underestimate the number of invitations you’ll need. Always order a few extras for last-minute guest list changes or keepsakes.
- Skipping proper proofreading: Minor errors, like typos or incorrect dates, can lead to confusion. Always have multiple people review your final draft to ensure accuracy.
- Overlooking RSVP deadlines: Set a clear RSVP deadline, and account for follow-ups with late responders. This ensures you have enough time for final headcounts.
- Failing to weigh invitations: Invitations with multiple inserts or unique designs might need additional postage. Check at the post office to avoid costly returns.
- Missing return addresses: Always include a return address on your envelopes to handle any undeliverable invites.
Pro Tip: Consider creating a detailed spreadsheet to track every aspect of your invitation process — from guest addresses and RSVP status to meal choices and thank you notes. This organization will help you avoid many common mistakes and keep your invitation timeline on track.
Brynn by Everett Paper Goods | Photo by Lisa Hornak Photography
Frequently Asked Questions
Every couple's wedding journey is unique, and you might have specific questions about how to make your invitations perfectly reflect yours. Here are answers to the questions couples ask us most often about sending wedding invitations:
Should we include registry information on the invitation?
Feel free to include a brief note directing guests to your wedding website for registry details and other information. A simple line like 'For wedding details and registry, please visit [website]' works perfectly. If you're planning an especially traditional celebration, you might prefer to share registry information separately.
Is it appropriate to request digital RSVPs on a formal invitation?
Yes, as long as the process is clearly outlined on the invitation or an insert card.
Should we include social media hashtags or links?
Yes, you can share them on an enclosure card or your wedding website, but avoid including them on the main invitation.
How do we handle dietary restrictions?
Include a section on your RSVP card for guests to indicate dietary preferences or allergies.
What’s the best way to communicate ceremony-only vs. full reception attendance?
Clearly state ceremony-only invitations with phrases like “You are cordially invited to the ceremony of...” and omit reception details. For full attendance, include both ceremony and reception details on the invitation or an insert card.
Make Your Invitations a Celebration
Your wedding invitations are your guests' first introduction to your big day. Start early, stay organized, and don't be afraid to make them uniquely yours. With thoughtful planning, sending invitations becomes less about checking off a task and more about sharing your excitement with the people you love.


